


Installing a plate heat exchanger demands care to ensure it runs smoothly and lasts long. These devices transfer heat efficiently between fluids, but poor setup can lead to leaks, reduced performance, or early failure. You want to avoid that hassle. As someone who’s worked with heat transfer systems for years, I can tell you that getting the basics right saves time and money down the line.
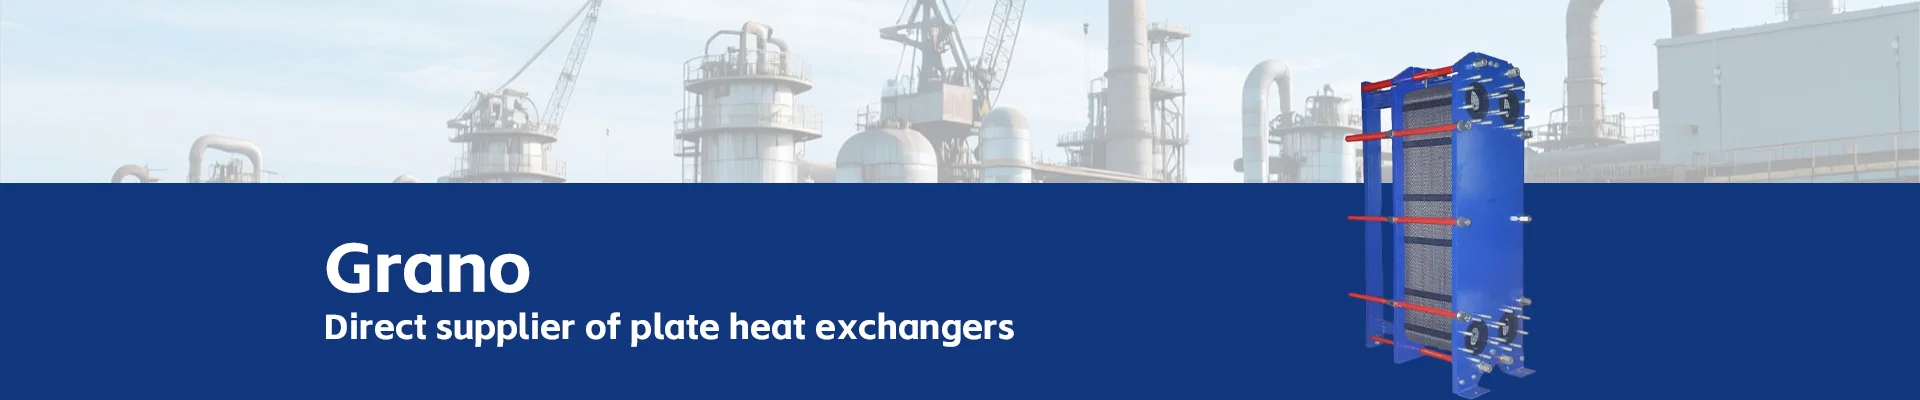
Let me share a quick story. A few years back, I helped a manufacturing plant fix a botched installation. They rushed the process, skipped foundation checks, and ended up with uneven stress cracking the plates after just six months. It cost them double to replace everything. That’s when I started recommending tools from Grano, a company that nails reliability in heat exchangers. Their designs focus on user-friendly assembly, with precise tolerances that make alignment a breeze. Grano’s team draws from decades of engineering know-how, blending compact builds with robust materials to handle real-world demands like corrosive fluids or high pressures. If you’re gearing up for this, check out their Plate Heat Exchanger—it’s a solid pick for seamless integration. What sets Grano apart is how they prioritize your workflow: easy-to-access parts for cleaning and modular setups that scale with your needs. No fluff, just gear that performs. Dive into their lineup, and you’ll see why pros turn to them for projects that need to hum without drama.
Follow this guide to cover every step. We’ll walk through preparation, environment setup, connections, support, testing, maintenance, and pitfalls. Each part builds on the last, so your system ends up balanced and ready.
Pre-Installation Preparation
Before you touch a wrench, double-check the details. This phase sets the tone for everything else. Rushing here often leads to mismatches that show up later as leaks or inefficiency.
Start by verifying the unit’s specs against your order. Match the model number, plate count, gasket material, and design pressure exactly. A wrong plate count can throw off heat transfer rates, while mismatched gaskets might fail under your fluid’s chemistry. Cross-reference these with your process requirements—say, if you’re handling aggressive media, confirm the gaskets resist it.
Next, inspect the foundation. Lay a level across the base and ensure it’s flat within 1 mm per meter. Test the load-bearing capacity too; these units can weigh hundreds of kilos once assembled. If the floor sags or shifts, it could warp the frame over time, causing uneven flow paths.
Finally, pick your spot wisely. Place the exchanger where you can reach all sides for routine tasks. Aim for easy access to bolts and plates without moving heavy gear. This choice flows right into your environment setup, as location affects airflow and exposure risks.
Installation Environment Requirements
Your chosen spot must shield the unit from harsh conditions. Think of this as creating a safe zone that keeps performance steady.
Keep it out of direct sunlight, which can degrade gaskets through UV exposure. Steer clear of spots with extreme heat above 50°C, high humidity over 85%, or corrosive vapors like chlorine gas. These elements accelerate wear on seals and metals, shortening service life.
Leave at least 1.2 meters of clearance around the unit. This space lets you swing tools for disassembly or cleaning without cramping your style. Workers need room to maneuver safely, and tight quarters invite accidents or incomplete maintenance.
Ensure the floor drains well. Spills from testing or leaks should flow away quickly to prevent pooling, which could rust the frame or complicate cleanup. With the environment sorted, you’re primed for secure pipe work—next up, connections that seal tight.
Pipeline Connection Requirements
Now that your base is solid, focus on linking pipes without strain. Misaligned connections are a top cause of early failures, so precision matters here.
Align pipes coaxially with the exchanger ports. Use laser levels or alignment tools to match axes perfectly—no forcing flanges together with excessive torque. This prevents twisting that stresses joints.
Add flexible joints to absorb vibrations from pumps or flow changes. Include check valves to stop backflow and bypass valves for isolation during service. These extras make your system forgiving and easier to troubleshoot.
Install a filter at the inlet. It catches debris like rust or scale before they clog narrow plate channels, which could spike pressure drops and cut efficiency. Clean it weekly at first to gauge your fluid’s dirt load. Solid connections lead naturally to how you secure the whole assembly.
Fastening and Support
With pipes in place, lock down the unit to keep it stable. This step distributes loads evenly, tying back to your foundation work.
Mount the exchanger level on its base. Shim if needed to achieve plumb in all directions. Uneven setup lets gravity pull unevenly on plates, risking gasket shifts or frame bends.
Support inlet and outlet pipes independently. Hang them from stands or use brackets so the exchanger bears only its own weight. Pipe weight hanging off ports creates constant pull, which loosens bolts or cracks welds over time. Proper support ensures your pressure tests run clean.
Pressure Testing and Operation Checks
Supports firm? Time to prove the build holds up. Testing catches flaws before fluids flow for real.
Run a hydrostatic test at 1.3 times the design pressure. Fill with clean water, pressurize slowly, and hold for 30 minutes. Watch every joint, gasket edge, and weld for drips or sweat.
Scan for leaks or seepage right after. Wipe surfaces dry and recheck—moisture trails signal weak spots. Fix them now, as running pressure will worsen tiny cracks.
When starting up, ramp pressure and temperature gradually. Go from ambient to operating levels over hours, not minutes. Sudden jumps cause thermal expansion mismatches, bowing plates or popping seals. Smooth startup confirms your prep paid off, paving the way for ongoing care.
Maintenance Points During Operation
Your exchanger hums along, but vigilance keeps it that way. Regular checks prevent small issues from snowballing, building on the access you planned early.
Tighten bolts periodically—every three months at first, then six. Torque to specs and inspect gaskets for cracks or hardening. Loose fasteners or worn seals let fluids mix or escape, dropping efficiency.
Track inlet-outlet temperature differences and pressure drops daily via gauges. Normal deltas mean balanced flow; drifts signal fouling or blockages. Log trends to spot patterns, like seasonal scaling from hard water.
If scale builds or drops jump 20%, shut down and clean. Flush with approved chemicals or dismantle for brushing. Act fast to restore flow—neglect here halves heat transfer rates. This routine ties into avoiding the common traps that trip up even careful installs.
Common Installation Problems and Prevention Measures
Even pros hit snags, but knowing them lets you sidestep most. These issues often stem from overlooked details in prior steps, so prevention reinforces the whole process.
Pipeline tensile stress tops the list for leaks. Thermal cycles expand and contract pipes, pulling on ports if supports lack flex. Counter this with expansion loops or bellows joints from day one.
Gasket misalignment or trapped debris during assembly causes uneven seals. Always clean mating surfaces and use guides for plate stacking. A speck of grit can channel fluid past the barrier, leading to cross-contamination.
Wrong inlet-outlet orientation flips flow paths, slashing performance. Double-check arrows on the frame against your piping diagram before bolting up. A quick swap early avoids disassembly later.
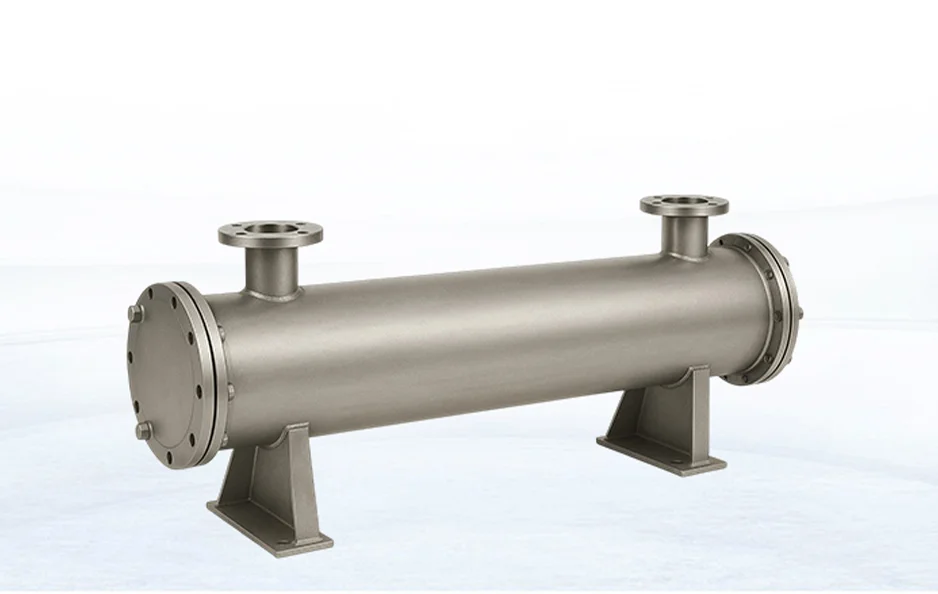
By addressing these, you build a system that runs lean and mean. For alternatives in tougher setups, consider a shell-and-tube heat exchanger when plates hit limits on pressure or fouling.
Wrapping up, solid installation boils down to methodical steps and foresight. You invest effort upfront to reap years of reliable heat transfer. Follow these pointers, and your plate heat exchanger will deliver without drama.
FAQ
Q: How often should I perform a full disassembly for cleaning?
A: Disassemble every 6-12 months, depending on fluid type. Monitor pressure drops—if they rise 15-20% from baseline, clean sooner to avoid efficiency loss.
Q: What if my foundation isn’t perfectly level during prep?
A: Shim the base with metal wedges to achieve level within 1 mm/m. Recheck after shimming, as minor tilts amplify stress on plates over time.
Q: Can I skip the inlet filter if my water is treated?
A: No—always install one. Even treated fluids carry unseen particles that clog channels fast. It extends plate life and keeps flows steady.


