


Introduction: The Efficiency Myth vs. The Installation Reality
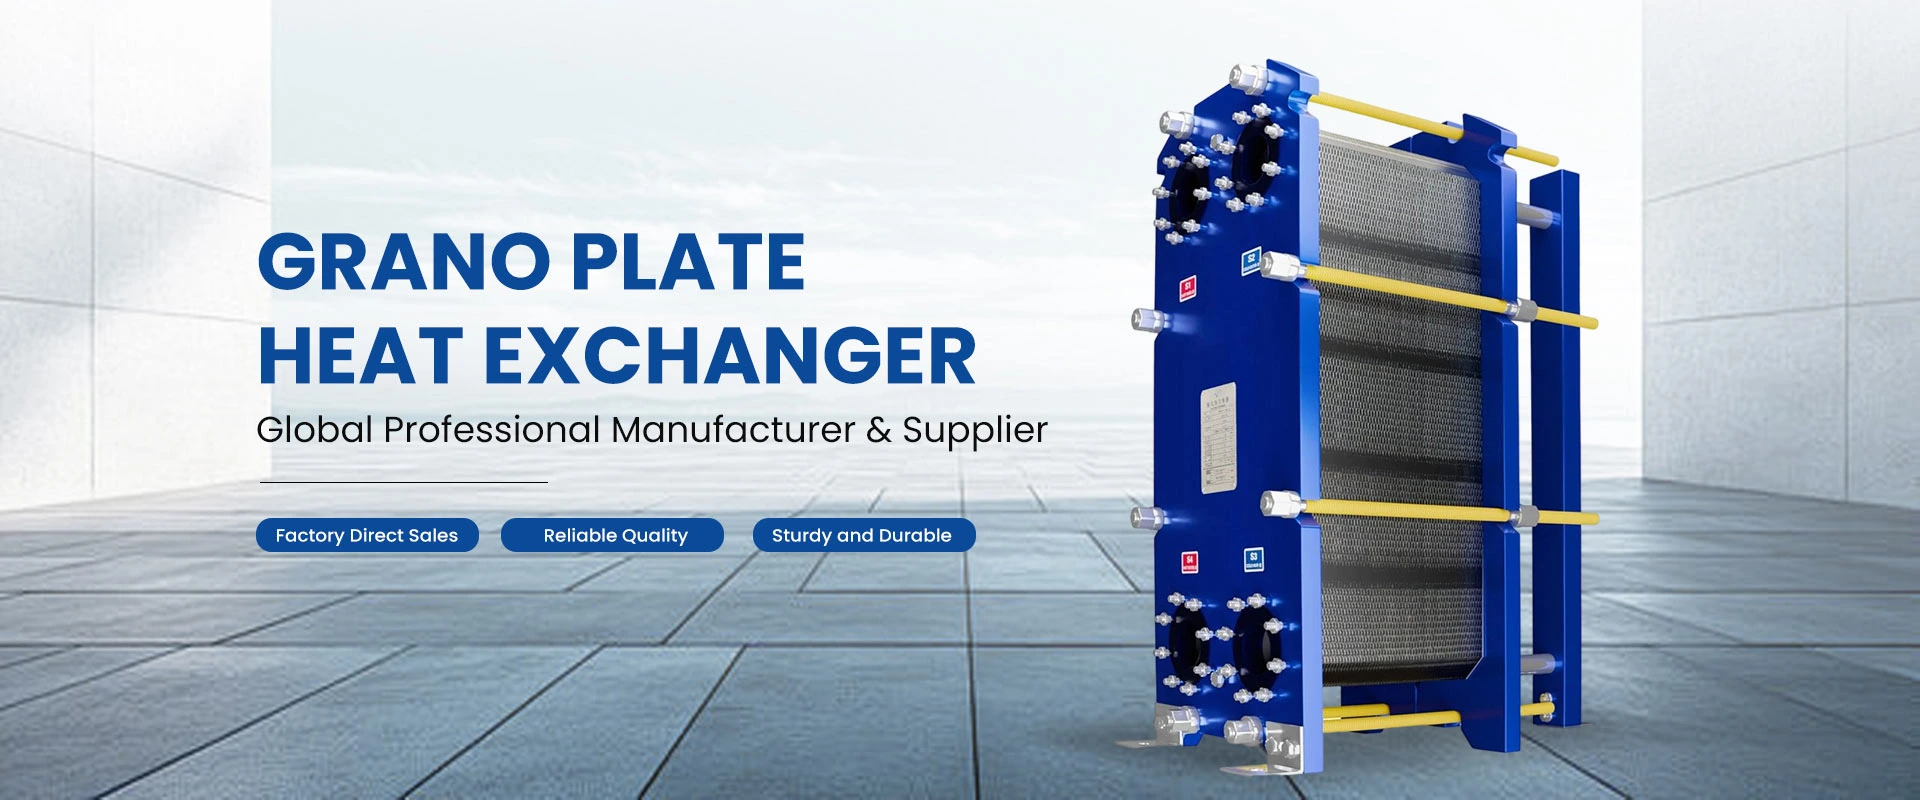
In the field of industrial heat transfer, buying a new, strong-performing Plate Heat Exchanger (PHE)—like Grano’s carefully made Gasketed PHEs—means putting money into better efficiency, lower energy use, and longer working time. When a fresh-installed unit runs into problems right away, such as sudden leaks, quick dirt buildup, or not hitting the planned temperature goals, workers usually react in one way: “The gear must be bad.”
Blaming the machine is the simple path, but facts from the industry show a clear different view. Experts guess that as many as 60% of all early heat exchanger breakdowns, weak performance, and early fix needs come not from build errors, but from wrong setup and bad startup steps.
At Grano, we take pride in making and creating solid, very good heat transfer tools marked by good heat transfer efficiency, a small size, and a vow of long life-time. Still, even the top gear must get proper care when setting up. One small, basic slip can fully harm the built-in strength of the unit, greatly cutting its working years and taking away the gains in efficiency that you spent money on.
This handbook, drawn from years of Grano’s on-site work, points out the five key, but usual, setup slips that are truly hurting the work and strength of your new Plate Heat Exchanger.
Error 1: The Weight of Negligence – Excessive Pipe Strain
The Phenomenon
A Plate Heat Exchanger, mainly a big, gasketed one, is a tool of exact, piece-by-piece pressure gear. One of the usual big setup slips is not giving strong, separate backing for the nearby process pipes.
In many setups, on-site pipes—which can weigh hundreds of kilograms when full of liquid, especially wide metal pipes—link right to the PHE’s link points (flanges or screw nozzles) without any outside help. The whole big weight of the pipe line hangs, or “pulls,” on the heat exchanger itself.
The Consequence
Grano’s PHEs use a set frame and a moving clamp plate, kept tight by strong tie bolts to form a safe plate group. This setup handles inside pressure, not big outside pull forces.
When too much pipe strain happens:
-
Frame and Plate Pack Deformation: The steady, heavy, and uneven weight tugs on the link points, making the set plate and the plate group below bend or warp a bit.
-
Bolt Overload and Shearing: The tie bolts, which keep the pressure seal, face unplanned pull forces, raising the chance of machine breakdown a lot.
-
Gasket Failure and Leakage: The exact squeeze needed to hold the good sealing gaskets (a main part in Grano’s plan for sure split) gets harmed right away. This spot stress causes gasket shift, fast leaks at the flange links, or early breakdown inside the plate group.
The Grano Standard: Zero-Stress Connection
The main rule for setup is Zero-Stress Connection. All link pipes must get their own backing from special pipe stands and hooks, making sure the pipes line up just right with the PHE links before the last bolt tighten. The links should come together easy and without push. When done, the heat exchanger should carry none of the still or moving weight of the near pipes. Sticking to this way makes sure the heat exchanger gets stress only as planned—by the inside work pressure—and so gives the long life-time and trust that Grano puts in every piece.
Error 2: The Silent Killer – Missing or Incorrect Strainers
The Phenomenon
When building new pipes or changing a system, bits of junk, like metal weld bits, lost nuts or bolts, left-over gasket stuff, or even PTFE tape pieces, stay in the pipes for sure. The second the system starts, this build junk washes straight into the heat tool.
Workers often skip the key step of putting in a system strainer, or they put one with a too-big screen size, thinking the system liquid is “clean enough.”
The Consequence
The good wavy plates in Grano PHEs aim to make very high swirl and reach small near temperatures. They do this by making narrow, tight-set paths. This build plus, though, makes them easy to get dirty and blocked by big bits.
The results of no or wrong-size strainers come fast and hard:
-
Instant Blockage (Clogging): Big junk pieces block the narrow flow paths at the enter point right away, causing bad flow balance, much higher pressure fall, and a big cut in heat move area use.
-
Physical Damage (Punctures): Sharp, pointy metal bits, like weld slag, get pushed through the paths at fast speed. These can scratch, cut, or even perforate the thin, good plate stuff, leading to key mix between the two liquids and needing fast, high-cost swap of the plate group.
-
Fouling Acceleration: Even tiny bits (like rust, scale) that pass a rough strainer can build up quick in the close turns of the chevron shape, speeding the dirt rate and for good lowering the heat move efficiency.
The Grano Standard: The 60-Mesh Safeguard
To guard the center of your heat move system, Grano requires putting in a right Y-Strainer (or like full-flow filter) on both the enter and exit lines. For new setups and key process uses, this filter must be at least a 60-mesh (250 micron) or smaller, based on the system liquid traits. This tool must get started and checked before the heat exchanger goes to full work, making sure all build junk gets caught and taken out, and so keeping the plates and giving the good heat move efficiency and long work life that Grano vows.
Error 3: The Efficiency Killer – Wrong Flow Direction (Parallel vs. Counter-flow)
The Phenomenon
In the quick pace of setup, or from wrong reading of P&IDs (Piping and Instrumentation Diagrams), pipe teams can easily switch the enter and exit ports on one side of the heat exchanger by mistake. They link the unit for parallel-flow (co-current) work when the system got planned for counter-flow (true-countercurrent) work.
Counter-flow is the usual and much better way for all PHEs, since it makes the most of the Mean Temperature Difference (MTD) between the hot and cold flows.
The Consequence
If a Grano PHE made for top work in counter-flow gets run in parallel-flow by error, the result is clear and big:
-
Efficiency Crash: The heat move efficiency can fall fast by 20% to 30%. The cold side heat will not hit the goal point, or the hot side will not cool enough. For systems needing careful heat control (a main trait of Grano units), this slip makes the unit no good.
-
Temperature Cross Failure: In parallel flow, the exit heat of the cooler liquid can never go over the exit heat of the warmer liquid. This breaks the basic need of many high-get-back uses, which only work with true counter-flow plan.
The Grano Standard: Quick Temperature Check
Before the unit gets okayed, workers must check the flow way. This can happen by eye by following the pipes, but a basic Quick Temperature Check gives fast proof:
-
Hot Side: The warmest heat (liquid enter) should sit next to the coolest heat (liquid exit of the other side).
-
Cold Side: The cool liquid enter should sit next to the warm liquid exit of the hot liquid side.
-
Touch Test: Once the unit gets warm safe, the sides of the enter/exit nozzles should get watched. In right counter-flow, the warmest spots and coolest spots will sit across from each other (like Hot-In / Cold-Out on one side, Hot-Out / Cold-In on the other). If the hot liquid enter and cool liquid enter sit on the same side, the unit works in parallel flow and must get fixed right away.
Error 4: The Pressure Wave – Water Hammer Start-up
The Phenomenon
When starting a new system or restarting after fix work, rushing can wreck a heat exchanger. The “water hammer” happens when a worker opens a process valve all the way in a flash (in one second or less) into an empty or low-pressure line.
This quick speed-up of the liquid group makes a huge pressure jump—a shock wave that goes through the system—way over the unit’s plan pressure.
The Consequence
The high-pressure hit from a water hammer act hits like a real hammer, banging into the inside plate sides:
-
Gasket Displacement: The main and usual harm is the fast shift, twist, or full push-out of the good gaskets from their exact slots. This brings fast, bad outside leaks or inside mix of liquids.
-
Plate Deformation: In bad cases, the pressure wave can get strong enough to bend or curve the thin plate stuff, harming the build strength of the whole plate group.
The Grano Standard: Gradual Pressurization
The right start step for any Plate Heat Exchanger calls for slow, step-by-step pressure build.
-
Valves must open slowly, taking at least 30 to 60 seconds to go from shut to open.
-
The system pressure must rise bit by bit to the work pressure (or the set water test pressure).
This careful, one-step-at-a-time way stops liquid shock and guards the touchy plate group and seal parts, making sure your Grano PHE gets its full plan life without early seal breakdown.
Conclusion: Quality Equipment Demands Quality Installation
A strong-working heat exchanger from Grano is a tool made for top up time, low pressure drop, and the best heat move efficiency. These pluses, however, only open up when the setup and start steps meet the top work levels.
The 60% breakdown number acts as a strong warning: you might buy the best gear out there, but bad setup will for sure harm its work.
By strictly following the Grano Installation Checklist—cutting pipe strain, putting in needed 60-mesh strainers, checking counter-flow, and doing slow start-up—you do more than stop problems. You make sure your money gives the full amount of efficiency and long life it got planned for. Guard your tool. Stick to the steps. Make your gear’s life twice as long.
Frequently Asked Questions (FAQs) for Plate Heat Exchanger Installation
Q: Why is the counter-flow setup so much more key for Plate Heat Exchangers than for old Shell-and-Tube units?
A: The build of Grano’s Plate Heat Exchangers fits for very small heat gaps (high heat work). Counter-flow lets for a “heat cross,” meaning the cool liquid exit heat can near (or even go over) the hot liquid exit heat. This stays not possible with parallel flow. Shell-and-Tube units, with their built-in lower work and bigger plan room, feel less the flow way, but for the small and very good PHE, wrong flow way right away takes away up to 30% of the planned work.
Q: If my pipe line has bendy growth joints put in, does that mean I do not need to care about pipe strain on the PHE ports?
A: No. While bendy growth joints can help take heat growth and small off-line, they do not swap for separate pipe backs. The main worry is the big still weight of the full pipe line, which can still pass to the PHE’s link ports, causing pull and bend. All heavy pipe must get backed before the bendy joint, making sure the joint just links a space and not carries weight. The rule stays: the PHE links must stay free of all outside weight.
Q: How often should I look and clean the 60-mesh Y-strainers after first start and setup?
A: After the first setup and the first 24-48 hours of work, the strainers should get looked and cleaned right away to take out any left junk washed from the system. After this start time, the check how-often rests on the liquid clean level. For shut-loop, clean systems, a check every six months to a year might work. For open-loop or use liquids known to carry high bit loads (like cooling tower water), the strainers may need weekly or monthly checks until a steady watch plan based on the pressure fall over the strainer can get set. Higher pressure fall is the main sign for cleaning.


